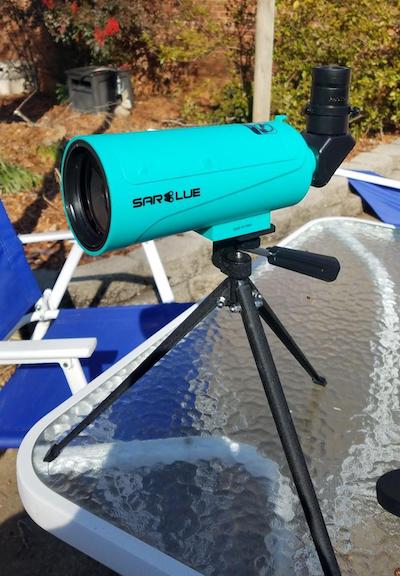
Sarblue Mak 60’s Optical Tube Assembly
The Mak60 is a Maksutov-Cassegrain optical design, a compound design utilizing both mirrors and a lens to focus light. Light passes through a meniscus lens with a spherical curvature on both sides. This lens adds some spherical aberration. The light then hits the spherical primary mirror and is concentrated onto the secondary mirror (which is actually just a silvered spot on the front lens). The secondary mirror folds the light path back and extends the focal length of the telescope. Then the light goes back through a hole in the primary mirror and out the back of the telescope. The use of all spherical surfaces means it’s fairly inexpensive to produce, while the use of a spherical corrector lens means that it can fully control for spherical aberration. Spherical aberration occurs when the shape of the mirror elements isn’t right, and is most noticeable when, for example, a newtonian with a short focal length has a spherical mirror instead of a parabolic one. Maksutovs have spherical optics, but the spherical lens naturally un-does the spherical aberration from the spherical mirror.
The Mak60 is very proud of this design. The instruction manual has a little blurb about Dmitri Maksutov, the inventor of the design. But most interestingly, they designed the tube so that you can open a side panel and actually look into the optics directly. This is baffling.
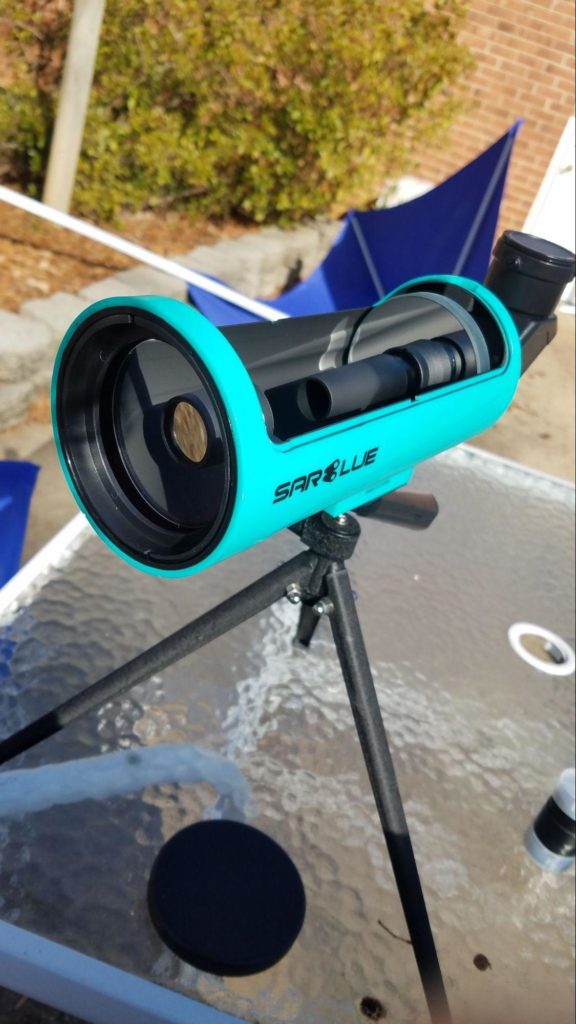
No, really, look at these black tubes here. They’re light baffles for controlling stray light. And they do an adequate job of it, too. But seriously, why would you open up a Maksutov like this? It is absolutely crucial that any kid who owns this telescope understands that if they get junk, dirt, dust, or fingerprints inside the telescope, they basically ruin it. Generally, the strength of the catadioptric cassegrain (Maks and SCTs both) is that they’re closed tubes, and so it’s hard to get the inside dirty. If you keep the Mak60’s side panel attached, you’ll have no problem with it.
The Mak60 has a pleasant teal-blue plastic body. It’s plenty sturdy and doesn’t feel like a compromise at all. There is a mounting block molded into the body with three mounting points for ¼ 20 screws, as you would find on a typical photographic tripod. The three points allow you to choose a suitable balance point. By default, the middle mounting hole should be fine.
The visual port on the back of the telescope is a 0.965” outdated format. On a refractor, this would be a huge red flag. But a Maksutov’s field of view and usable accessory size are limited by the size of the hole in the primary mirror. A wider hole would produce a larger obstruction and cut out your light gathering and resolution dramatically. And as we’ll see, this 0.965” port isn’t as bad of a limitation as it seems. (The accessories are 1.25”)
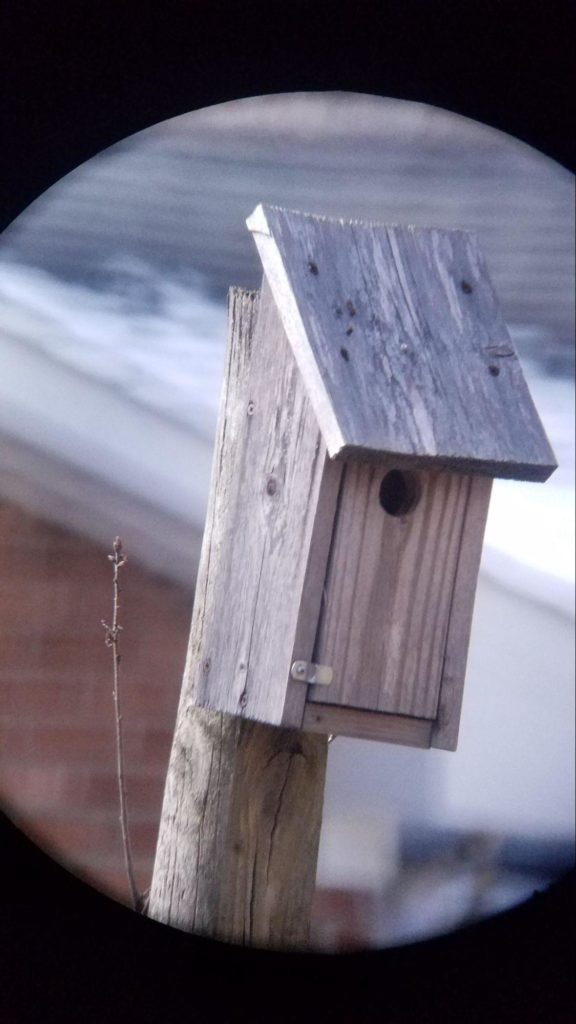
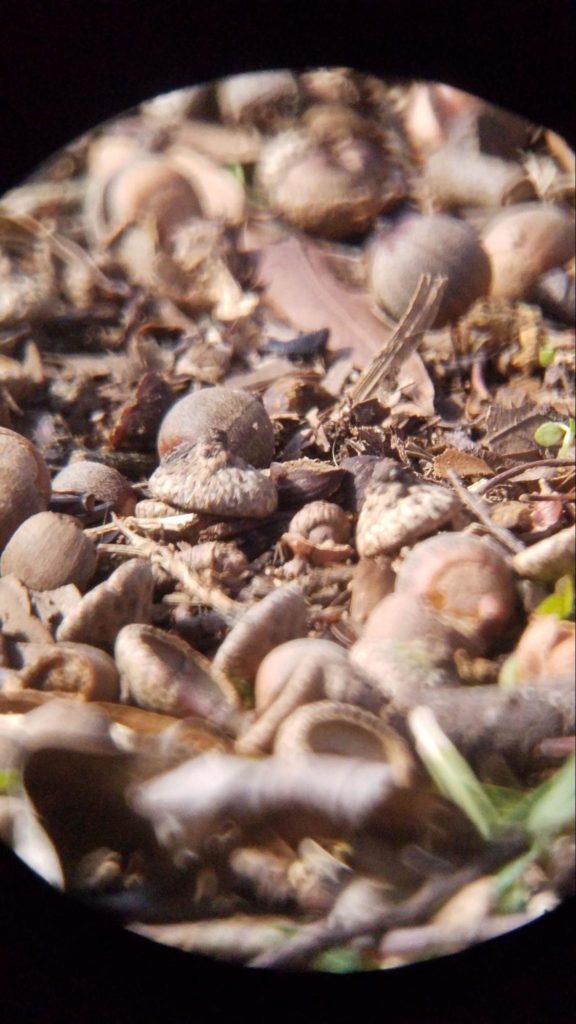
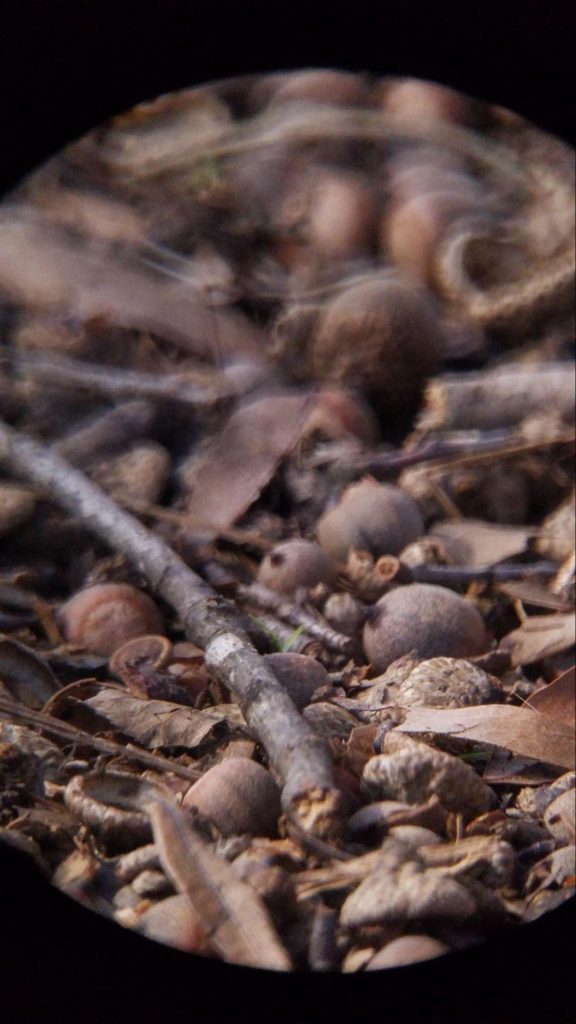
The focuser knob is easy to use, fast enough to focus quickly, and even has a raised icon so you know which way is near focus and which way is optical infinity. The telescope can focus on objects just a few feet away, and observing the dirt or grass in this way is an interesting experience. It’s not quite a microscope, though! Lying on the ground with a magnifying glass would have about the same effect. The focuser knob doesn’t show much or any image shift. You can see the focuser in action with the side panel removed–it is a spring-loaded screw that pushes the primary mirror forward and backward. Subtle adjustments to the primary-secondary distance can actually have major changes in the focal length of the telescope. Cassegrains like this change focus by actually changing the focal length (and thus magnification) of the entire telescope!
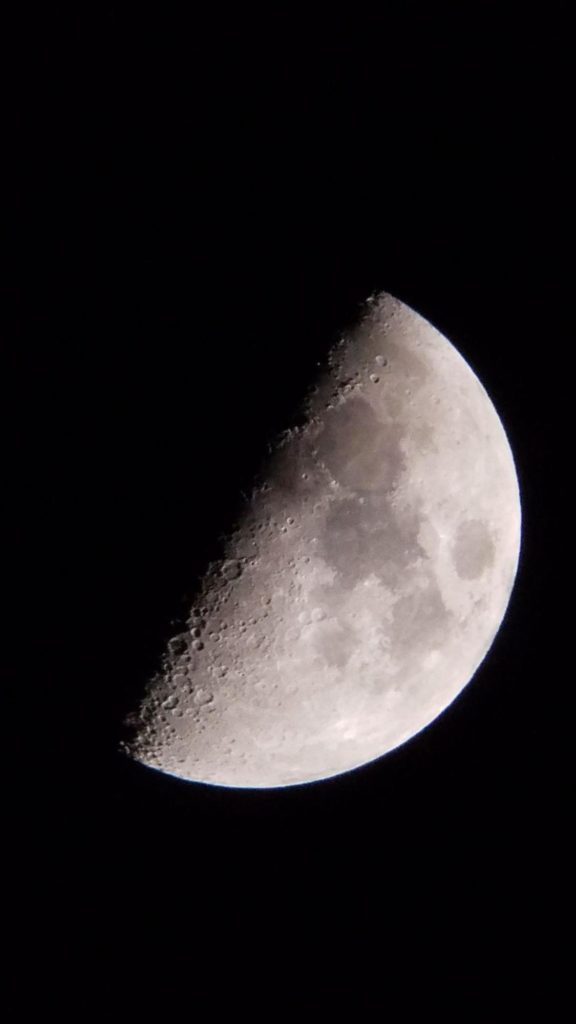
The optics are good. The Mak60 has a 60mm (2.5”) aperture with a 750mm focal length, for a focal ratio of f/12. The images are not perfect–at 125x, very close to the maximum theoretical magnification, the images are a little soft due to residual spherical aberration. Jupiter’s cloud bands were resolved, barely. Saturn’s rings would definitely be resolved, but I doubt you could see many features beyond that. This is really where the limited aperture of the Mak60 becomes a problem–125x isn’t really that high a power, but that’s where the Mak60 tops out. As a spotting scope or a lunar telescope, it’s very good; but planetary detail is limited.
60mm aperture is also really not very much when it comes to observing Deep Sky Objects. Even the bright showpiece open clusters in Auriga and Gemini are fuzzy, glittery spots; the Andromeda Galaxy would be difficult to see. There are a decent handful of DSOs which would be interesting to look at in a 60mm aperture. Many of them are larger than the field of view of the Mak60, so you’re left feeling a little boxed in. Some obvious targets: Messier 45, the Pleiades cluster: beautiful grouping of 7 brighter stars and a dozen or more dimmer ones. Messier 42, the Great Nebula in Orion. You can see most of the sword of Orion fitting within the field of view, and the nebula is a puff of gray in the middle, with very faint wings. The Double Cluster in Perseus is good, with two fuzzy-glittery balls in a rich starry field. When looking for targets, look for resources for observing with small telescopes or binoculars, and account for the smaller field of view compared to binoculars. (And actually, to be honest, if you’re looking for an instrument for deep sky observing on a budget, 7×50 or 10×50 binoculars would probably be a better buy)
Best Value Accessories Provided
The accessories really help set this telescope apart from other cheap telescopes. There’s a 20mm eyepiece, a diagonal, and a smart phone camera adapter in the basic kit. There’s also an optional finderscope available in two out of the three online versions of this scope. (I think there’s a replacement side-panel with a finderscope mounted available for sale separately as well.)
The eyepiece is really good. It’s a 20mm RKE, or Reverse Kellner Eyepiece, (or Rank-Konig-Erfle, depending upon who you believe). The RKE has a very long, comfortable eye relief, and it’s easy to find the image. The classic Edmund Scientific RKE has a reputation for a “floating stars effect,” and I definitely think there’s some of that with the Mak60’s eyepiece. The field of view of the eyepiece is also downright luxurious! It appears to be easily a 60 degree field of view, which is wider than Plossl eyepieces (52 degrees), which come with many high-quality telescopes, and wider than the Kellner eyepieces (40-50 degrees), which come with many entry-level telescopes, and waaaay wider than the Huygens and Ramsden eyepieces, which come with many very cheap telescopes.
The 20mm eyepiece is also the only one you get. It provides 37.5x magnification. That’s a sort of middle power for a telescope like this. It’ll show you Jupiter’s moons, Saturn’s rings (just about), and loads of details on the Moon. There’s not much point in getting an eyepiece with a longer field of view. This eyepiece virtually maxes out the field of view of this telescope, since the 0.965” visual port means you can’t make use of the full field of view of something like a 32mm Plossl. The field of view would be vignetted down to basically the same true field as given by the 20mm. You could get an additional higher power eyepiece, though. I’d recommend a 9mm Goldline, providing 83x. Goldlines are iffy eyepieces–the edge of their field of view can be pretty soft–but at f/12 they’re diffraction-limited across the whole field of view, and they’re not super expensive either. For a cheaper option, a 10mm or 9mm Kellner would do, or perhaps a 12.5mm or 10mm Plossl.
The Star Diagonal comes attached to the optical tube and is necessary for it to function. It has a 0.965” nosepiece that goes into the telescope port, but it accepts 1.25” accessories. The diagonal is also really good. I can’t find any evidence of miscollimation or astigmatism in the optics, and it’s an erecting prism, showing upright images. It’s quite refreshing to look through a telescope and see the Moon with North up and West left, and it makes the telescope very usable as a terrestrial spotting scope. Erecting prisms are usually not preferred for astronomy because they have multiple surfaces to reflect and scatter light, while mirror diagonals have just one surface and are easier to get right. But this erecting prism works just fine in the Mak60. Which is very good because it would be difficult to replace otherwise. The diagonal has ribbing on its nosepiece, which means it sorta snaps into place if you loosen the set screw on the OTA to try to change the angle. The diagonal CAN be rotated, you just have to loosen the set screw almost all the way and apply a bit of force, or remove the diagonal, rotate it, and put it back in. But most of the time, the default “up” direction works best.
The Smartphone Adapter is an interesting choice, and I’ll talk a little more about smartphone photography in a bit. The adapter is well made, with set screws to hold onto this specific eyepiece and a spring-loaded bit to grab onto your phone. Unlike most smartphone adapters, this one only works with the 20mm RKE that comes with the telescope and nothing else. Well, it might work with something else, but it’s not designed to.
I have some reservations about the finderscope included with some versions of the Mak60. It’s the same stopped-down singlet 5×20 finderscope that has been used in lots of terrible telescopes for years. The finderscope is pretty cheap and low-quality, with lots of aberrations and a generally very dim image. But. The telescope desperately needs a finderscope. There are two little gun-sight notches in the OTA, but they disappear almost completely at night and are impractical to get your head behind to actually use. The telescope can be frustrating to use without the finder, requiring a lot of scanning around aimlessly. And that’s as an experienced observer who already knows what I’m looking for.
A better choice would have been a red dot finder, which projects a red dot through a little window at optical infinity. These are standard on many cheap telescopes, and they work really well, so I don’t know why SarBlue hasn’t included one. However, it looks like the mount for the finderscope stalk might be compatible with the mounting system for a typical red dot finder. It looks like, but I can’t verify, the bit that the finder stalk clips onto is the same as where a red dot finder slides onto its stalk. There’s no other way to mount a finderscope–no standard dovetail/synta finder shoe, no standard-spacing screw-stalks, etc.
Mount
There are three versions of the Mak60 which each seem to use a different mount. The cheapest (basic) version, the one I have, has a short little tabletop tripod. There’s also a tabletop Dobsonian mounted version, which is so cute and also probably the best mount for the telescope, and an extendable tripod mounted version. I can’t speak to the quality of the version with the adjustable tripod, but I do know that at this price point, the tripods are usually not very good.
The Dobsonian mount is similar to the mount for the Orion SkyScanner and should be very smooth and easy to use. It looks like that version even mounts onto a Vixen Dovetail, making the Mak60 compatible with other astronomy mounts, which is interesting. It is the most expensive version of the telescope, however.
The tabletop tripod is the mount I have firsthand experience with. It’s surprisingly good, especially for terrestrial viewing. It’s got a fairly smooth motion, although it’s much easier to move in azimuth (left/right) than altitude (up/down), which can cause some frustration at high power. The telescope is light enough that the mount doesn’t get too out of balance when pointing up high, although the pan-handle will get in the way unless you mount the telescope backwards. You will have to move the balance point forward if you attach your smartphone.
The tabletop tripod mount may be sturdy–it doesn’t wobble or shake, and it doesn’t bend or flex when you move it–but it is still somewhat frustrating to use. It’s just not fun to use when pointing high in the sky (you know, where most of the space stuff is).
You will need a fairly sturdy surface to place the tabletop dob mount or tabletop tripod mount.
Smartphone Photography
This is a weird aspect of the telescope that seems to be a very intentional part of its design and marketing; I don’t think it’s an afterthought, since they call their eyepiece a “photographic eyepiece.” Incidentally, though you won’t notice this with your eye, the eyepiece isn’t orthographically corrected, so it will still have distortions when using it for eyepiece projection imaging.
Smartphone astrophotography has some inherent limitations. The aperture of the camera is usually smaller than that of your eye, which means you may lose some light gathering at low powers. The smartphone’s built-in, non-removable lens means that you must use an eyepiece to take images (for the same reason that your eye’s non-removable lens means you must use an eyepiece to look through a telescope. Disclaimer: do not remove the lens in your smartphone. Or your eye). But eyepieces add distortions, which are easier to notice in pictures than with your eyes. Objects moving through the field of view of the eyepiece will become distorted and stretched towards the edges. Granted, this isn’t an issue with still images, but the best way to get good images will involve taking multiple pictures or video.
Video astrophotography is helpful for the Moon and planets. It allows you to take out the noise and the blurry atmospheric turbulence out of the image by stacking just the best frames together. (The software I use to do this is AutoStakkert! and RegiStax, with a pre-aligment in PIPP.) Meanwhile, multiple still images can be taken to stack pictures of deep sky objects to reduce noise and result in a longer effective exposure time.
The biggest limitation to doing astrophotography with a telescope like this is the lack of a tracking mount. Exposures have to be very short. With only about a second exposure time, you will get noticeable star trailing. Star trailing is a little more reasonable at a third of a second, but at that point, almost anything you’d want to take a picture of would be really really dim.
It seems like they intend for users of this telescope to use it as an introduction to astrophotography, or maybe even use it photographically instead of visually. I’m not sure that’s a good idea. It lacks a plausible upgrade path on its own, and I don’t think anyone is going to be able to use this telescope to get especially good or interesting pictures of anything except the Moon.
Photography of terrestrial targets using the included smartphone adapter is easy and works fine. This method, sometimes called “Digiscoping,” can turn your smartphone into a telephoto lens for wildlife photography and terrestrial viewing.
A better way to record what you observe, especially for a child but absolutely for adult observers as well, is to keep an observing journal or sketchbook, where you draw what you see at the eyepiece and describe what you’re looking at. Sketches train the brain to see better, provide a better physical keep-sake than a photo on a phone, and provide a more accurate record of what you actually saw than a photo does. Moon sketches are harder to get right compared to Moon images, since the Moon is both easy to photograph and difficult to sketch. However, there’s still great value in drawing even a cartoon sketch of the Moon, since it will get you thinking about the topography and geology of the Moon in a way that you seldom do when you take a photo, at least a full-disk photo.
Gallery of Photos Taken with Mak 60
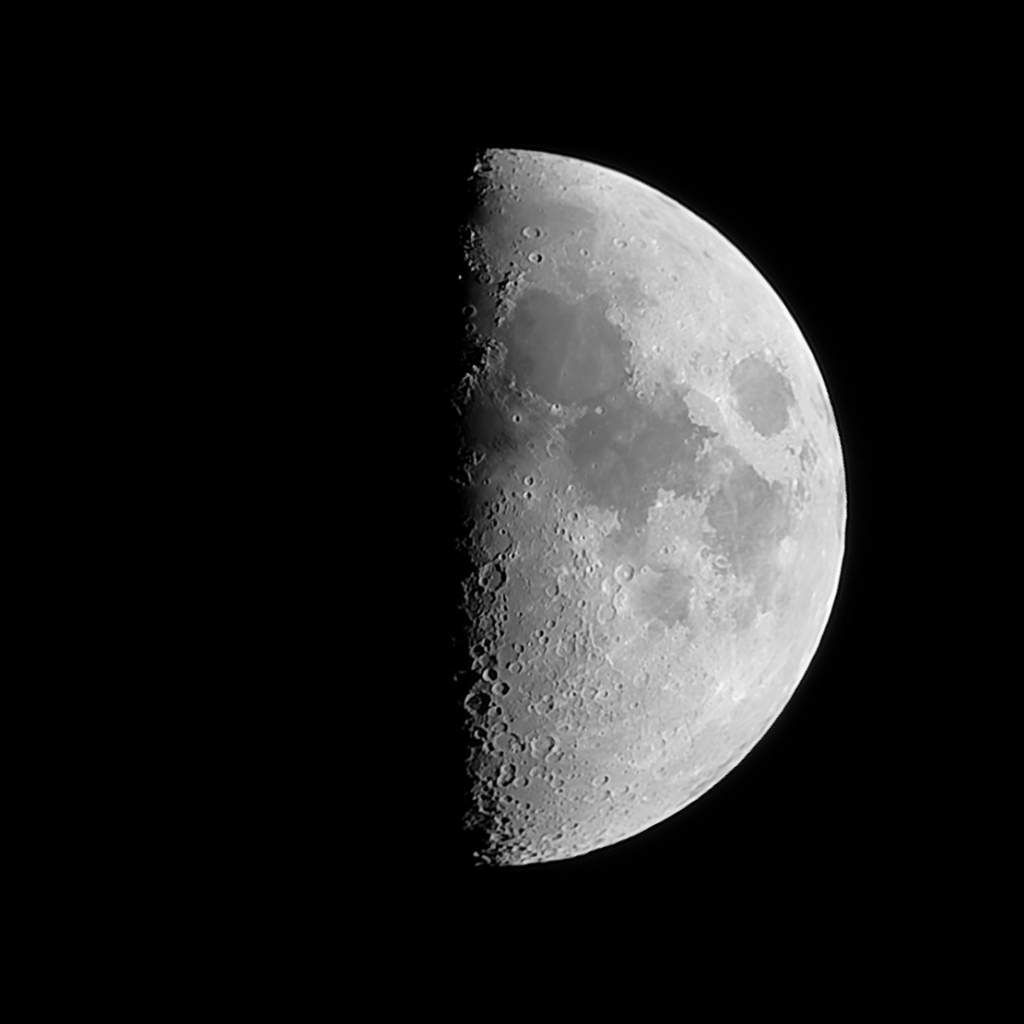
The second moon photo was created by taking a short video (about 15 seconds and 470 frames) and processing it using PIPP to align the frames as the Moon drifted through the field of view, then AutoStakkert! to combine the video frames into a single image, and then RegiStax for wavelet editing, which allows me to sharpen the final result to bring out a little more detail and contrast. This is really quite a pleasant image, and it captures most of what you can hope to see visually.

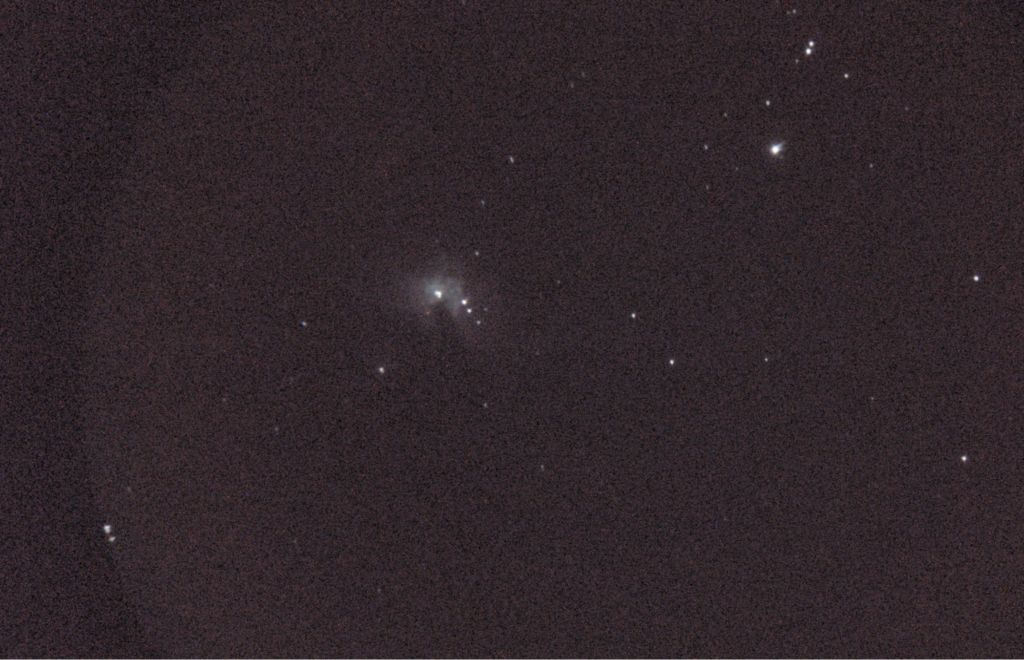
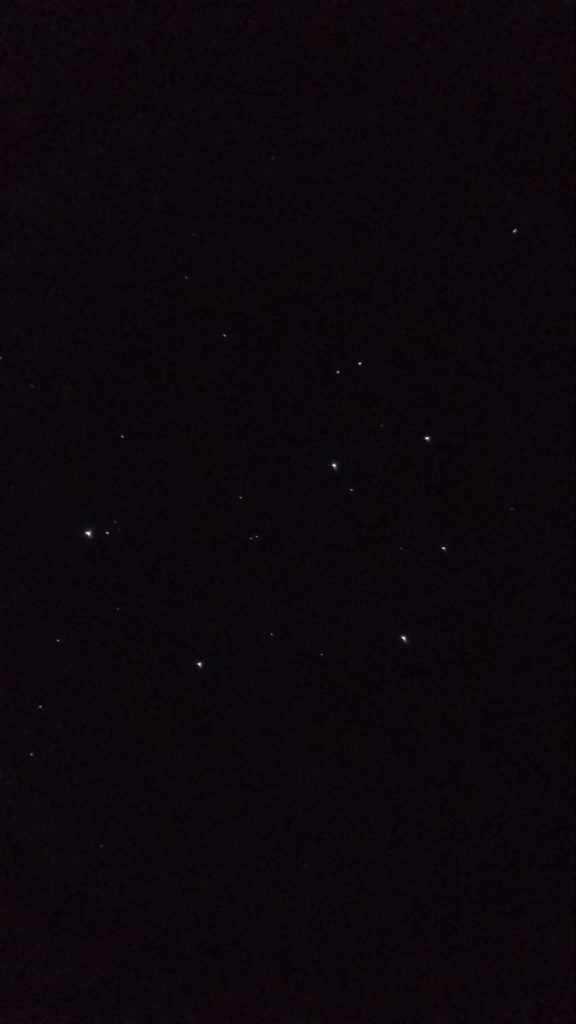
Single frame of Messier 42, the Orion Nebula
The Pleiades
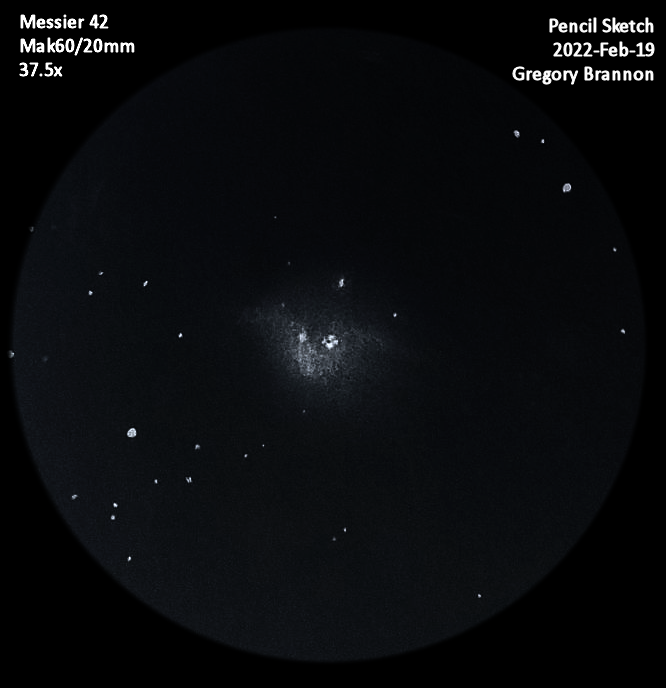
Image 1: A single frame of Messier 42, the Orion Nebula–perhaps the most spectacular nebula in the sky. I could see slightly more than this with my eye (the wings of the nebula were faint ghosts, but not even captured in this image.) The stars are distorted as the Earth rotates, and the stars appear to drift through the field of view during this 2 second exposure.
Image 2: This image of the Orion Nebula was made by stacking 7 ½ second photos for a total exposure time of 3.5 seconds. Less star trailing. The overall image quality probably reflects more of my own lack of skill as an astrophotographer, but at least you can just about see the wings. Aside from the noise, this is a pretty close match for what you’d see looking through the Mak60 at the Orion Nebula.
Image 3: The Pleiades does not quite fit in its entirety in the field of view, though I think that’s because the phone slightly crops the edges. The image here is nowhere near as nice to look at as actually visually viewing the Pleiades is.
Image 4: A black-on-white pencil sketch (digitally inverted to white on black) of the Messier 42 nebula, showing what you can see visually under suburban skies on a dark night. Use averted vision to catch a hint of the “wings.” The trapezium cluster inside is cleanly split, but it’s probably a little tighter together than the illustration suggests.